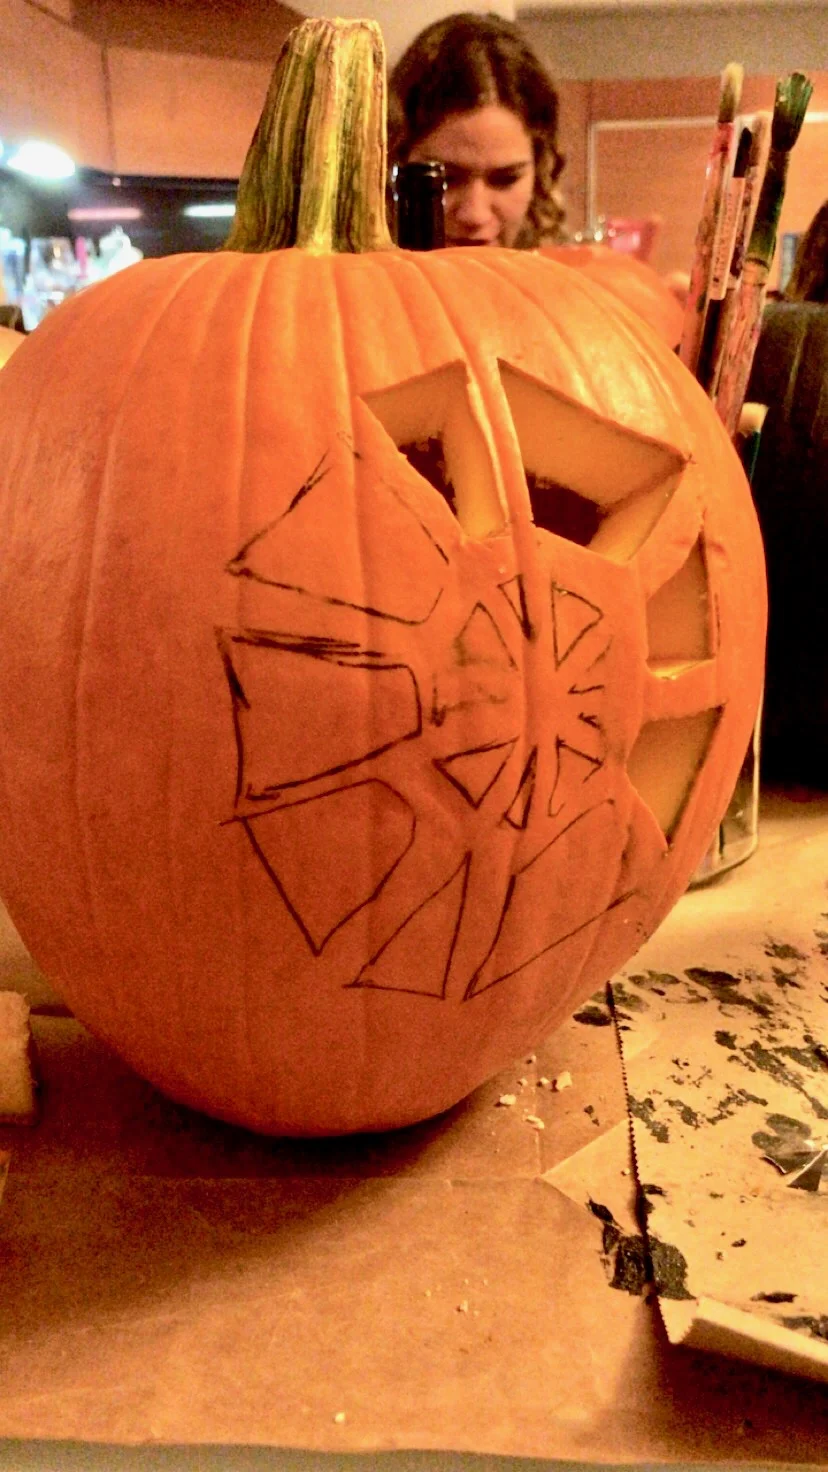
Pumpkin Carving for Halloween 101
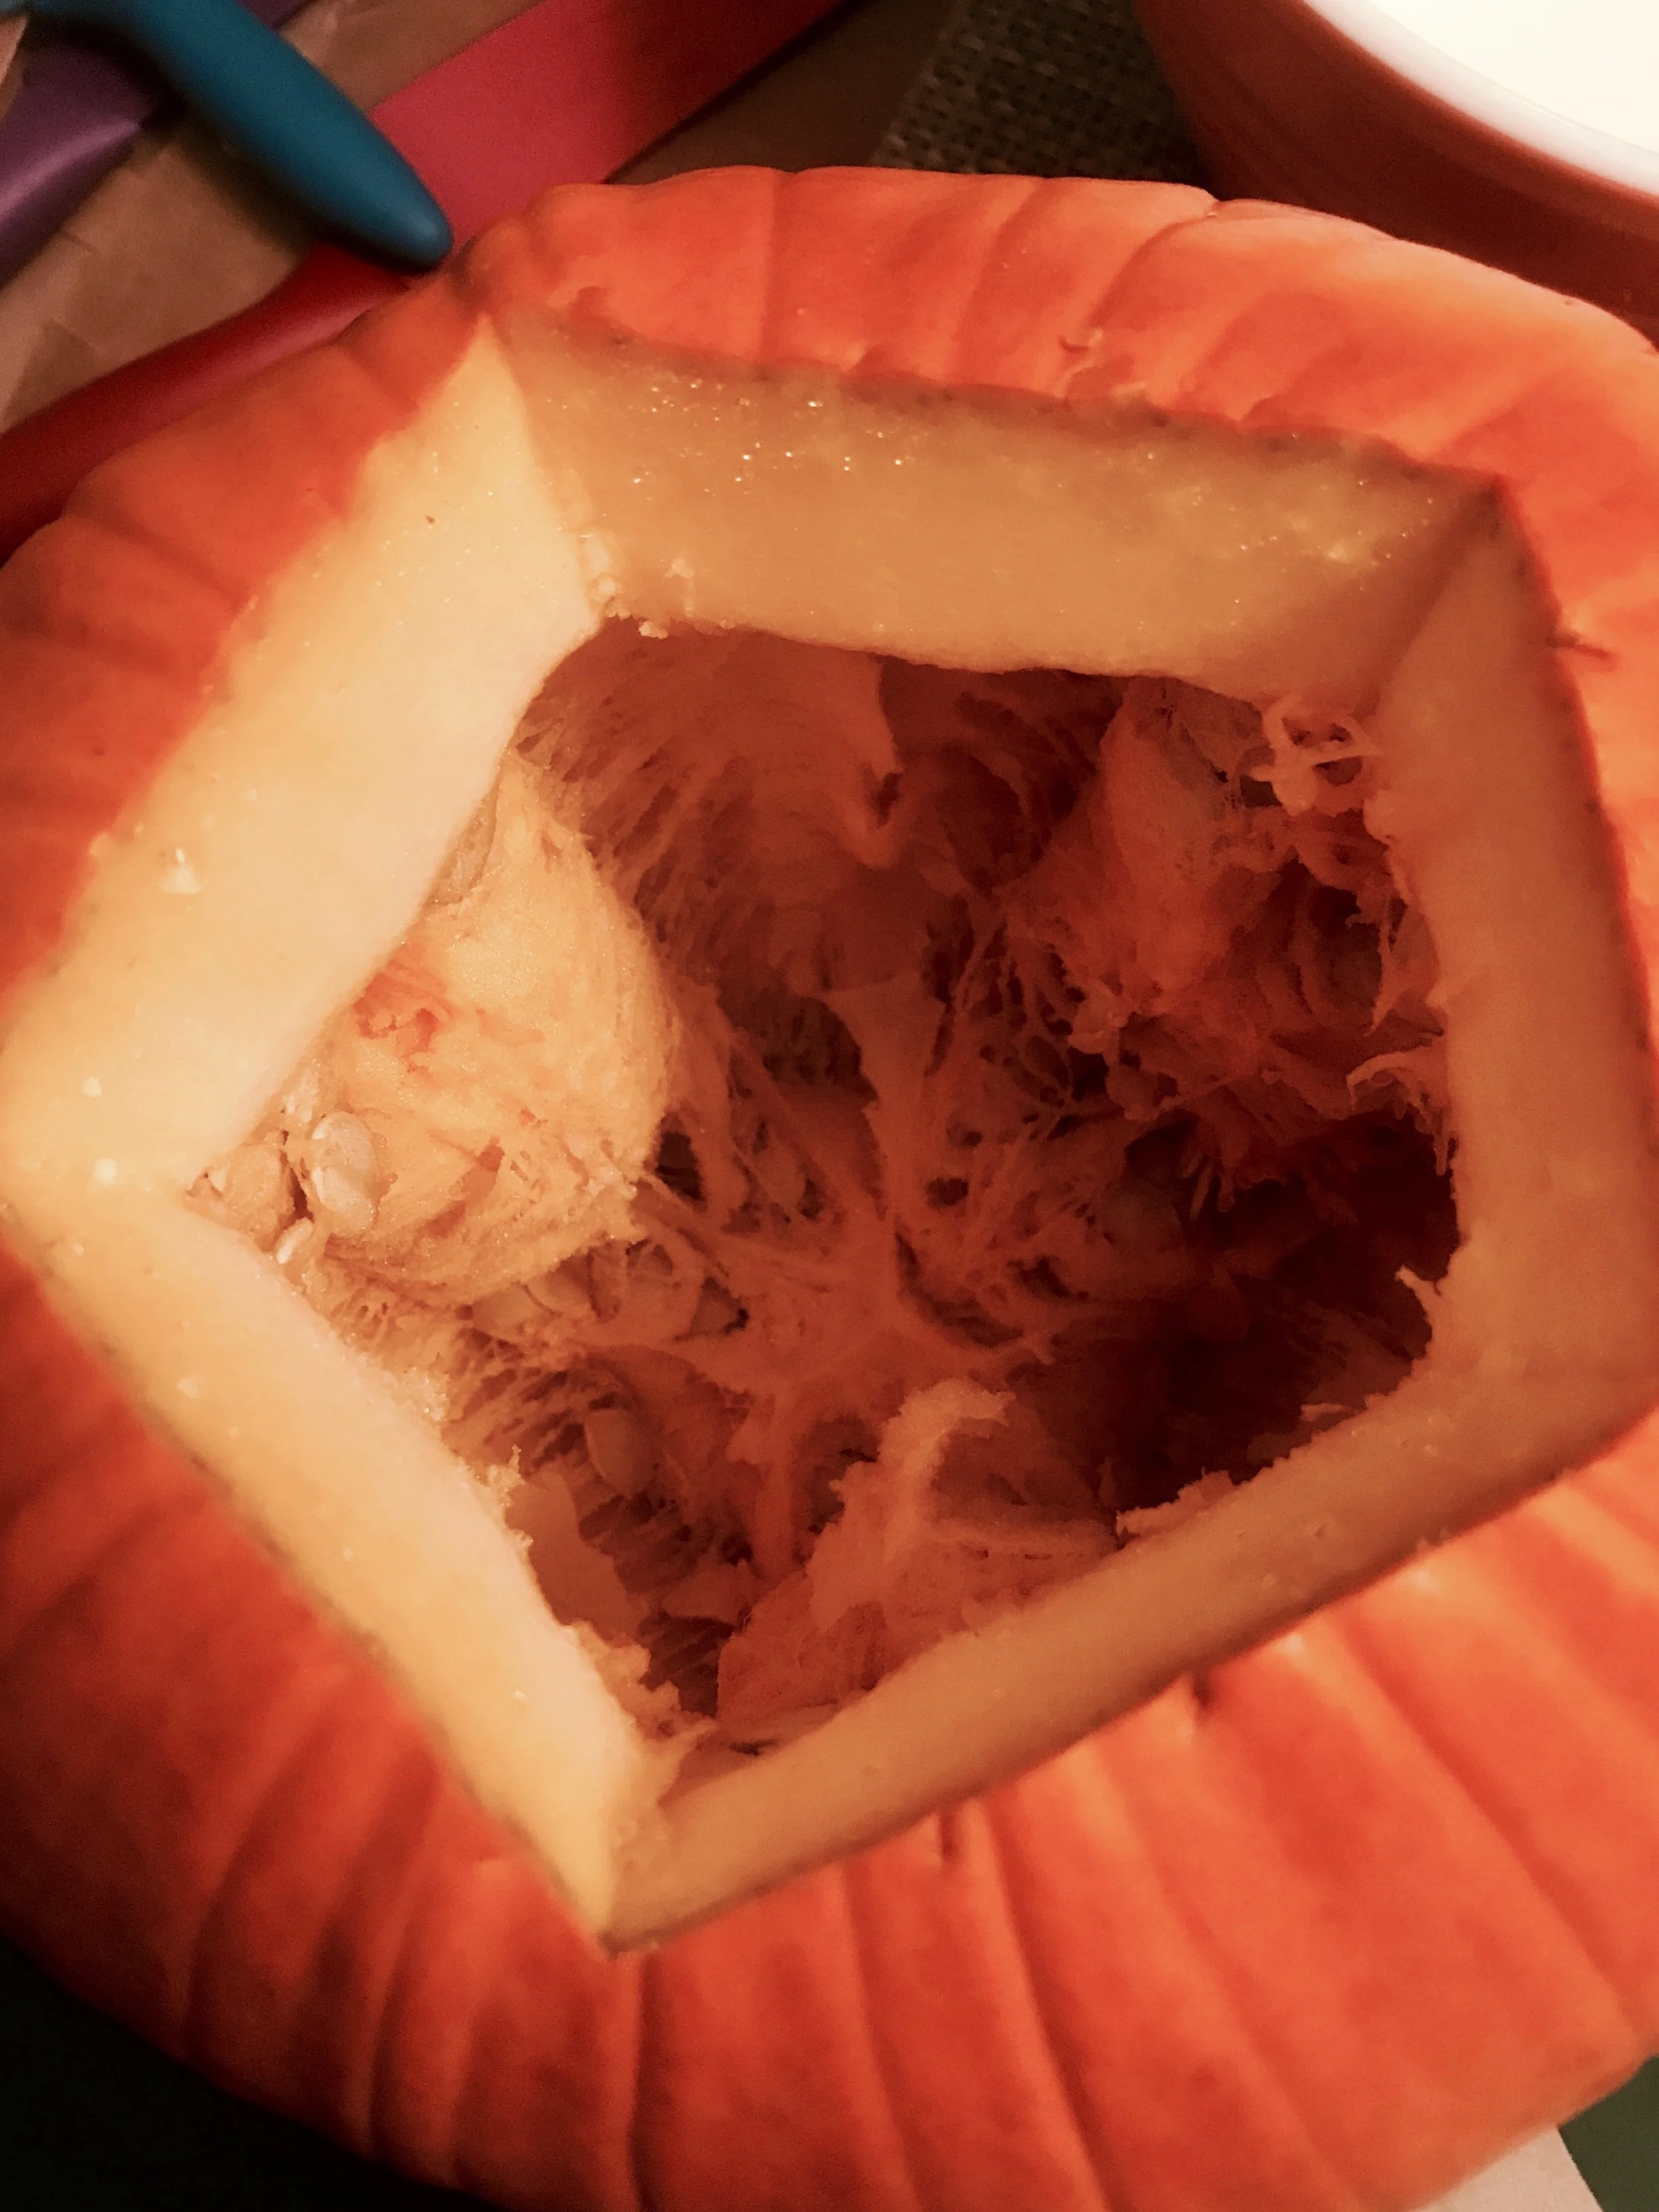
- Step 1: Make a cutting around the stem of the pumpkin to open it and create a lid. You can do it circular, hexagonal or any shape you wish [ make sure you leave the cut as it is so the top can fit perfectly and close properly]
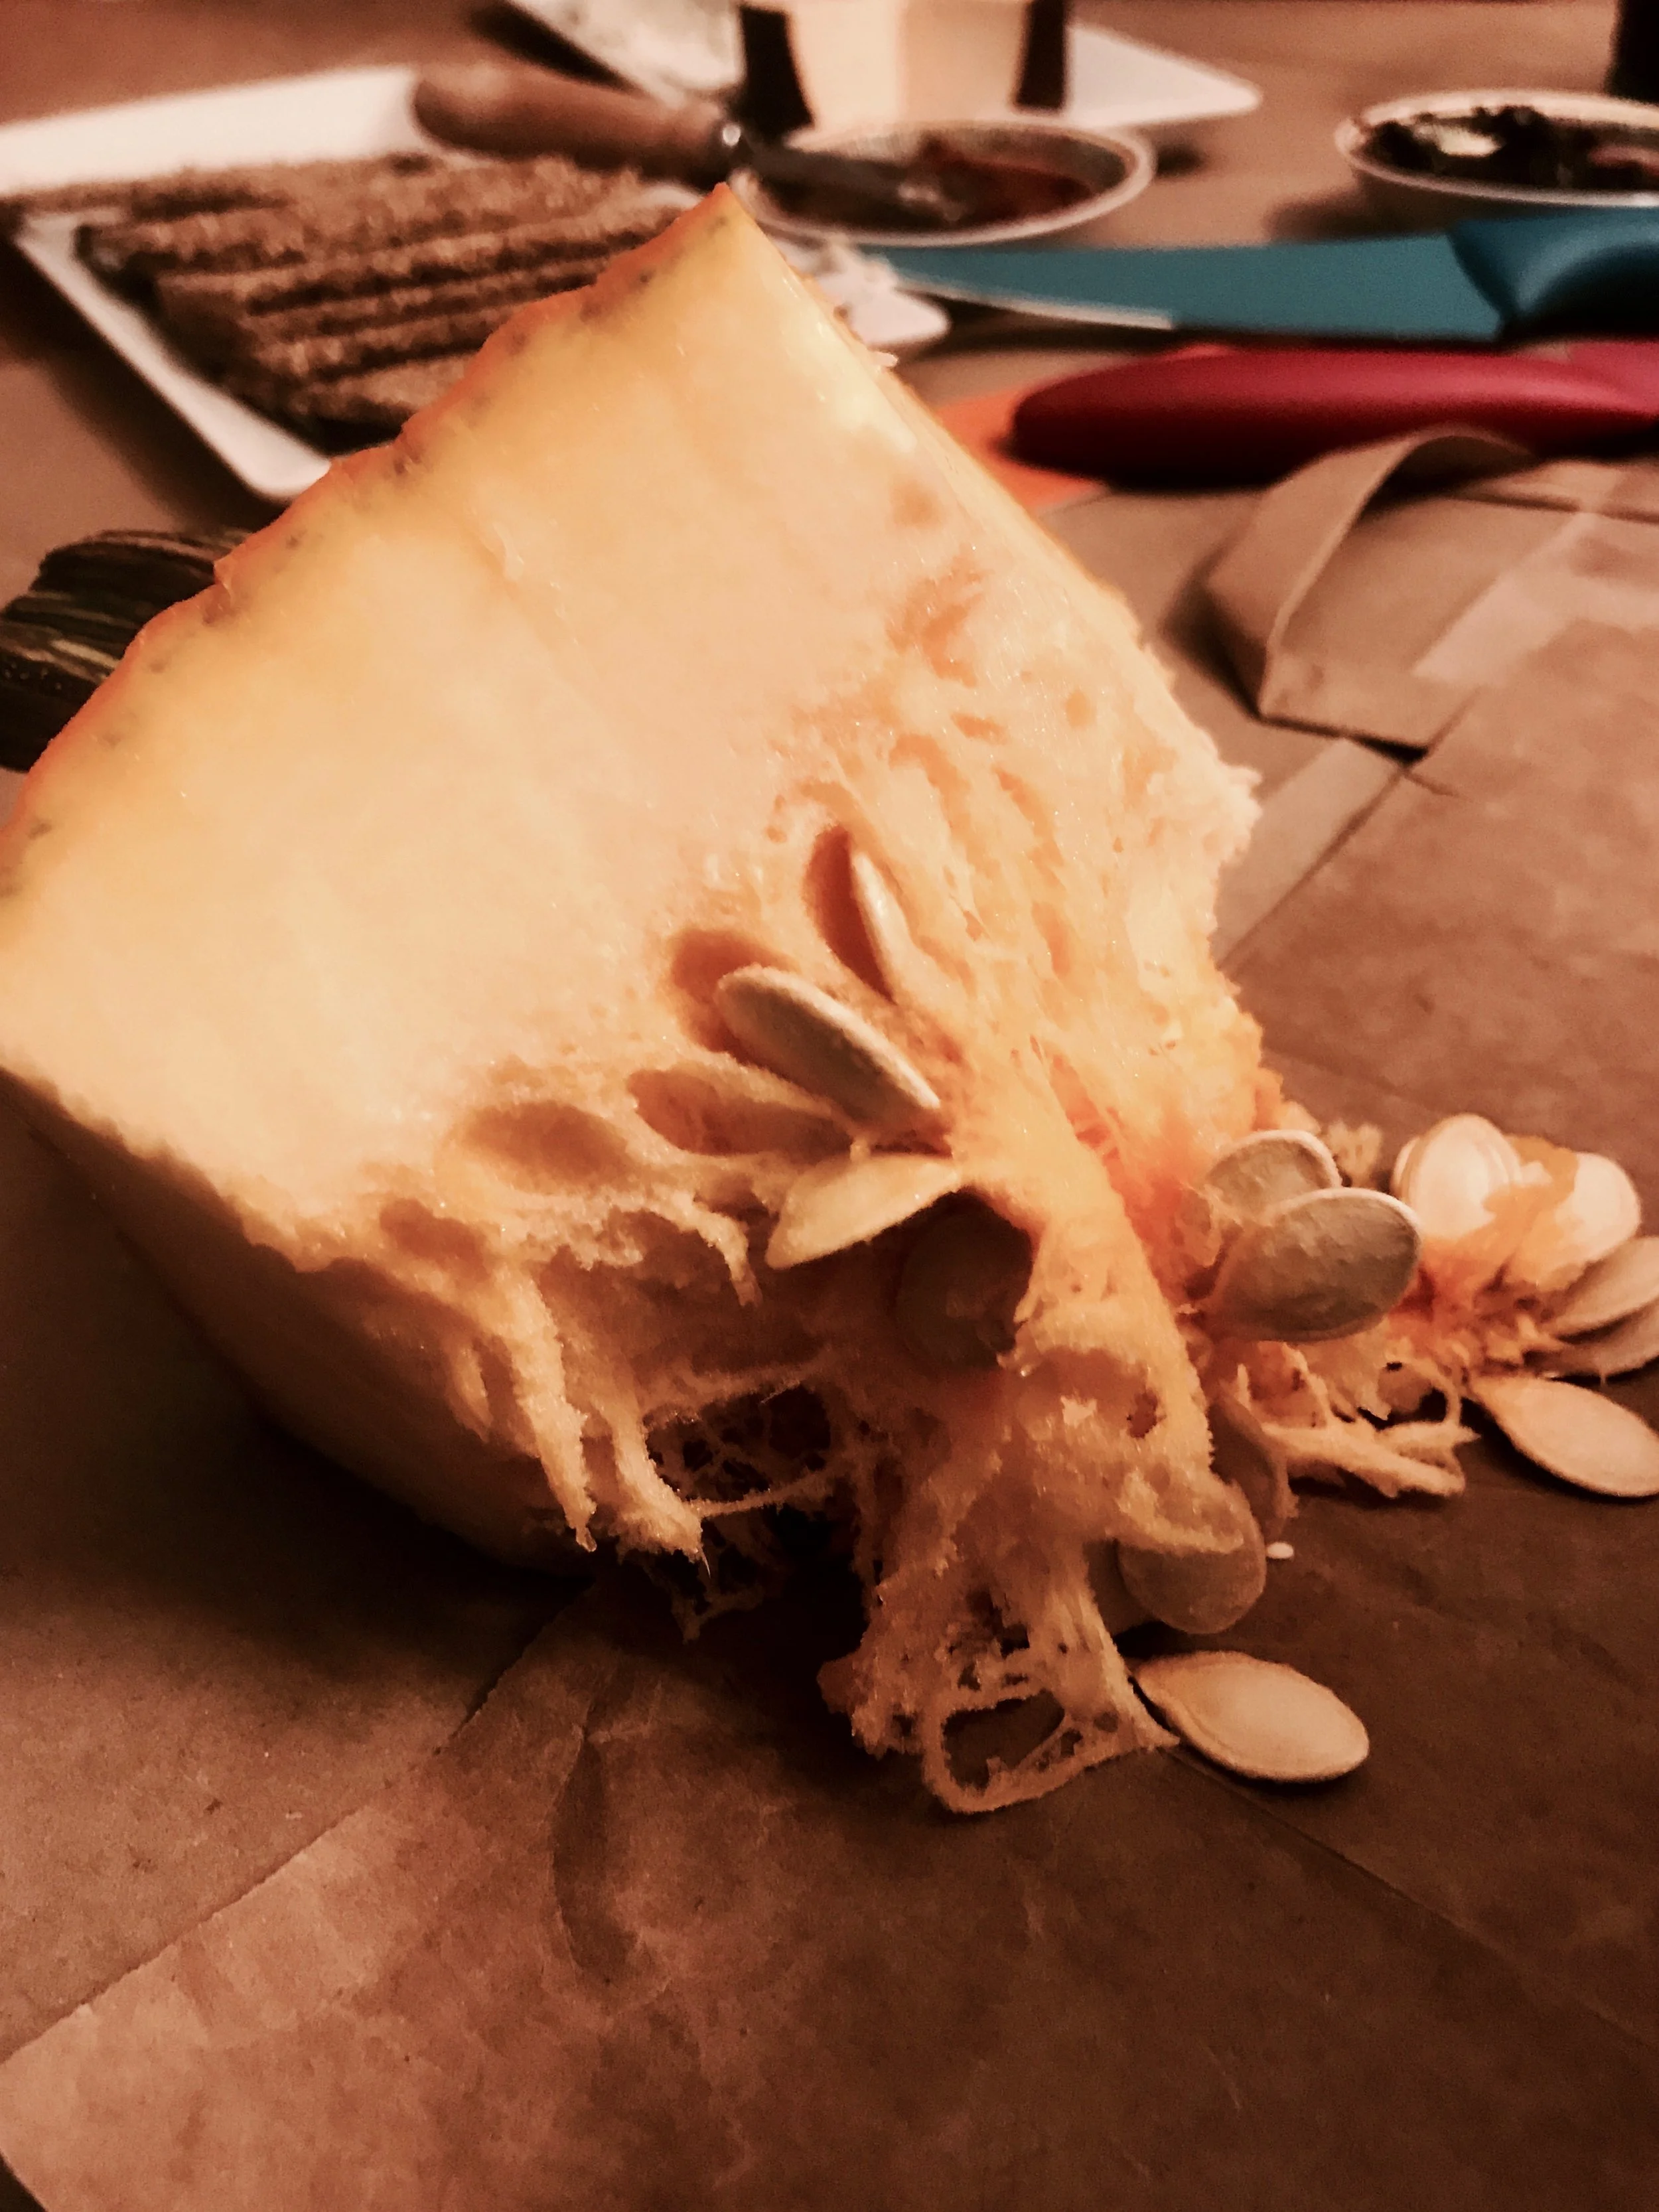
- Step 2: Remove the inside gook and seeds so it can be clean on the inside to add a tea light.
- Step 3: Use a stencil or your own pulse to draw the design that will be carved in the pumpkin. [download stencils]
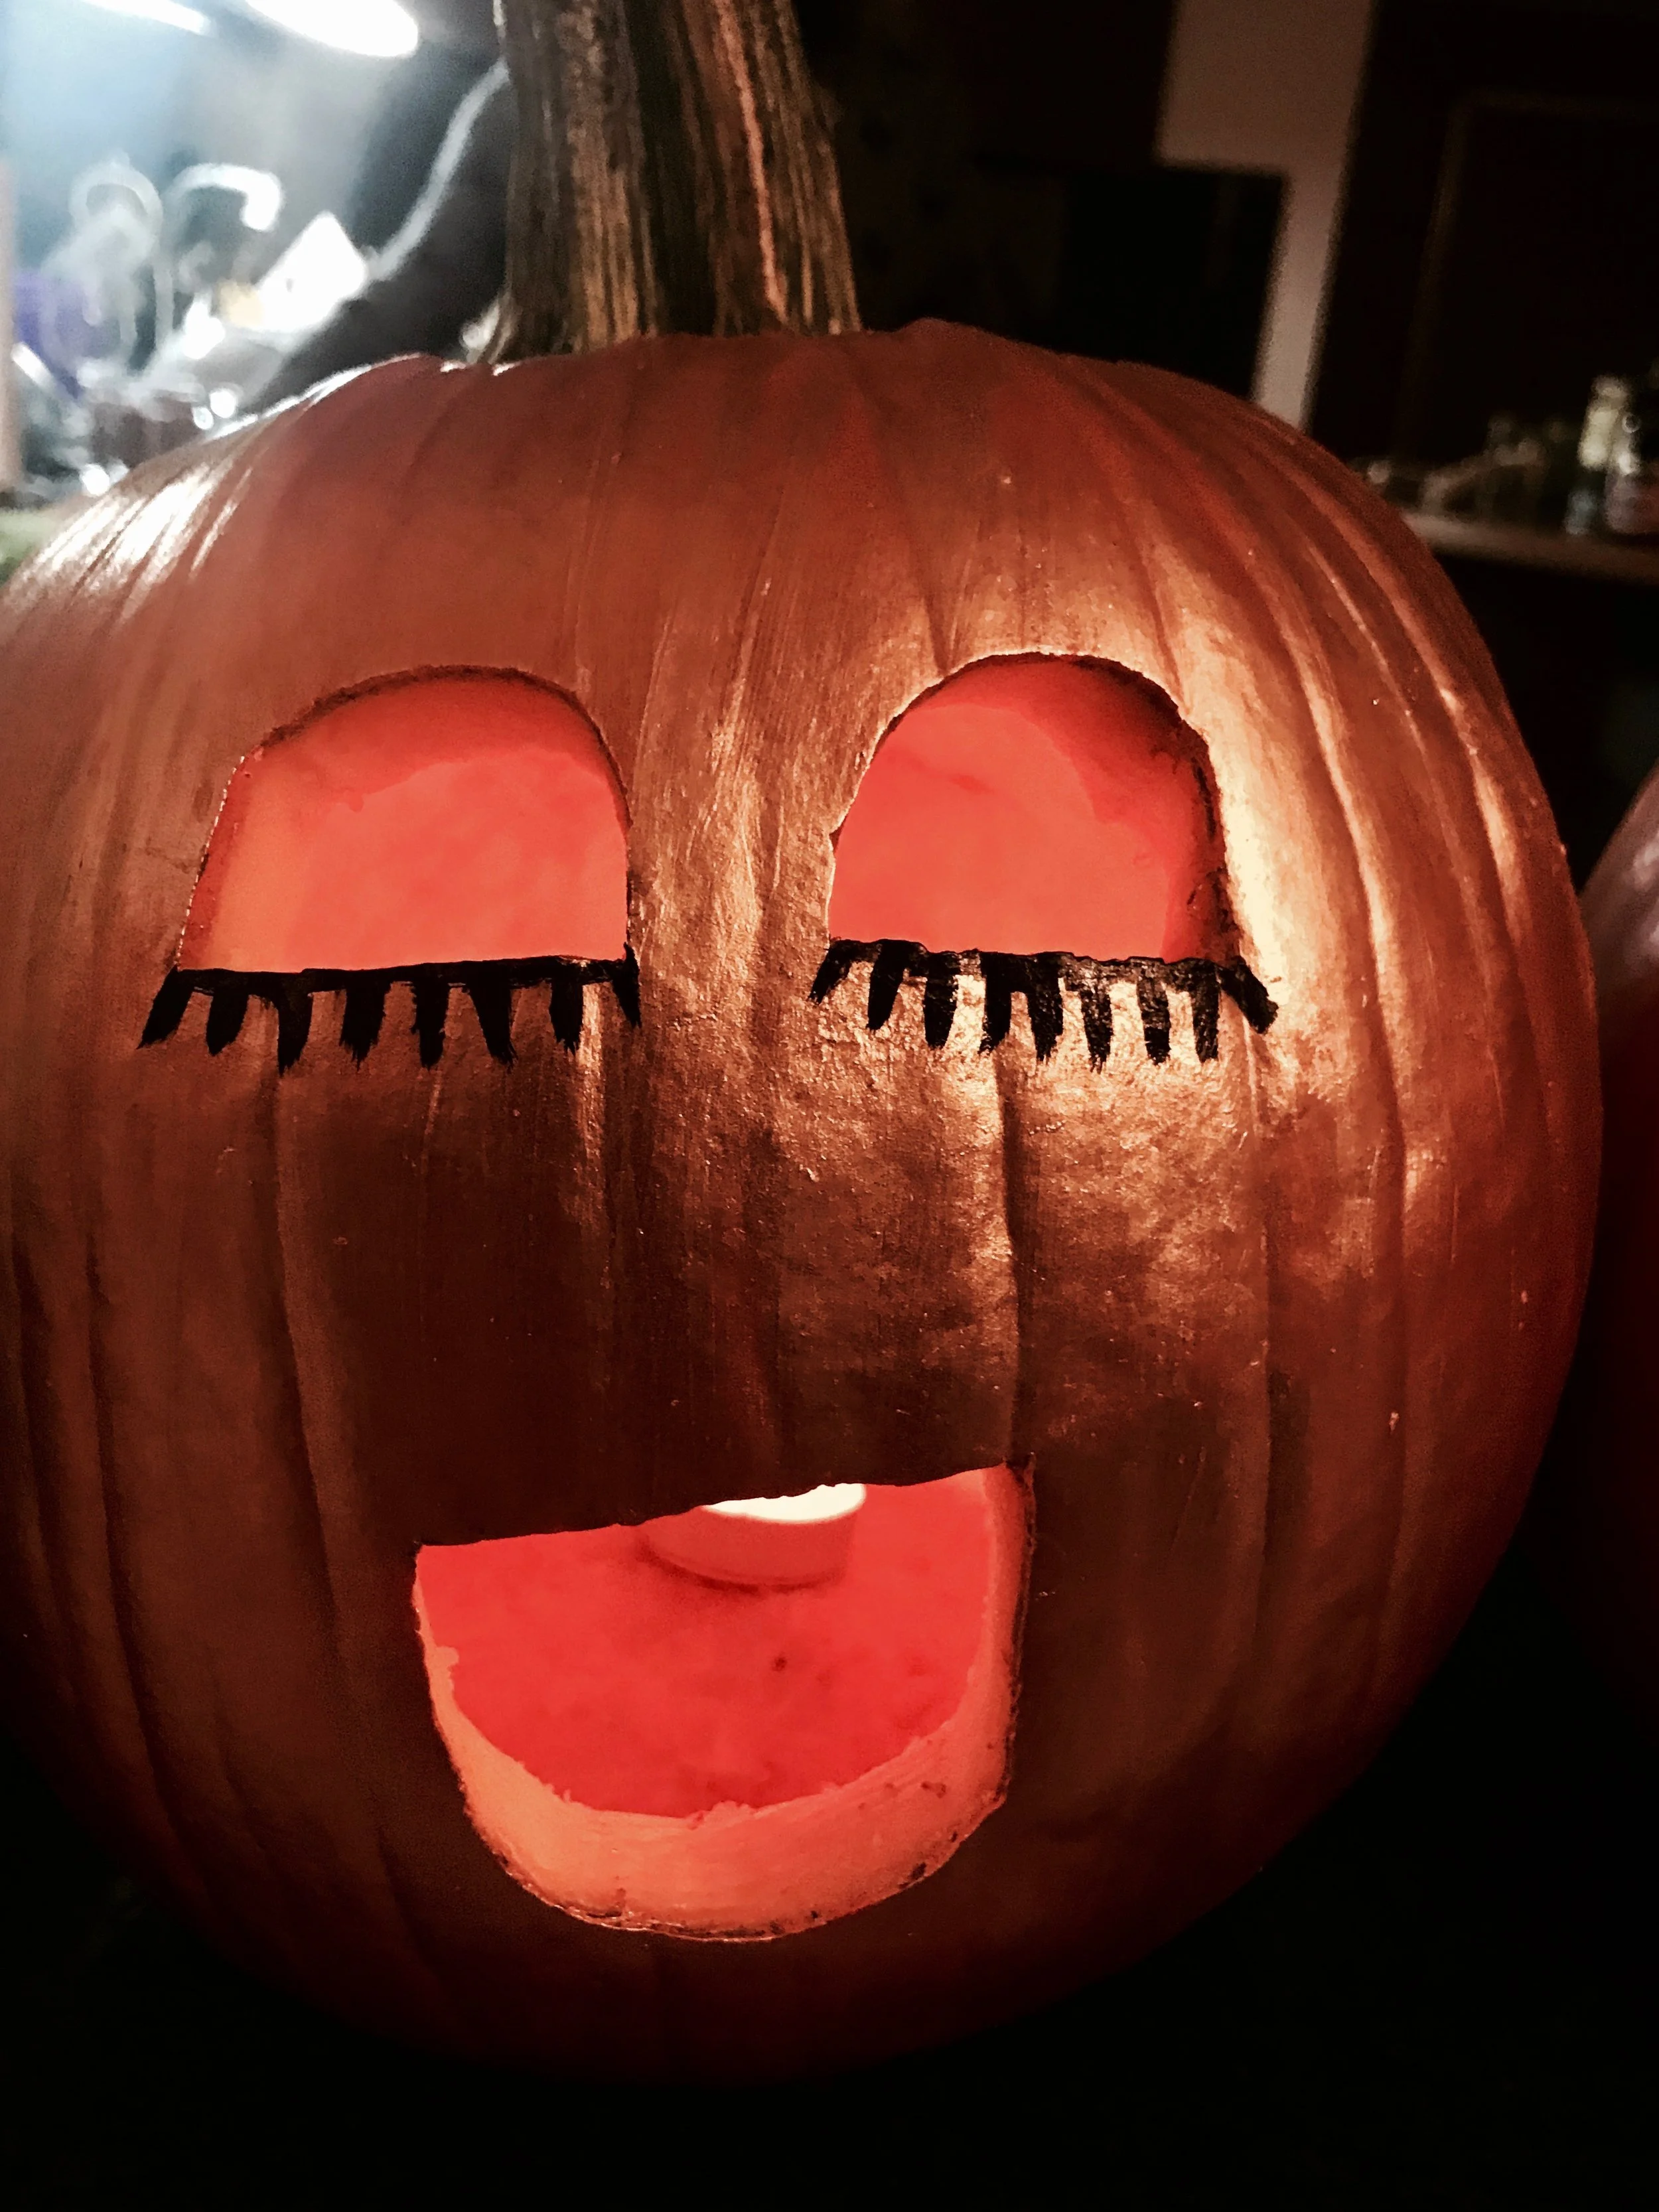
- Step 4: Using and exacto knife or carving tools remove the flesh where you want the light to come out.
- Step 5: Paint using acrylics
- Step 6: Add a tealight inside the pumpkin and enjoy it while it lasts .......
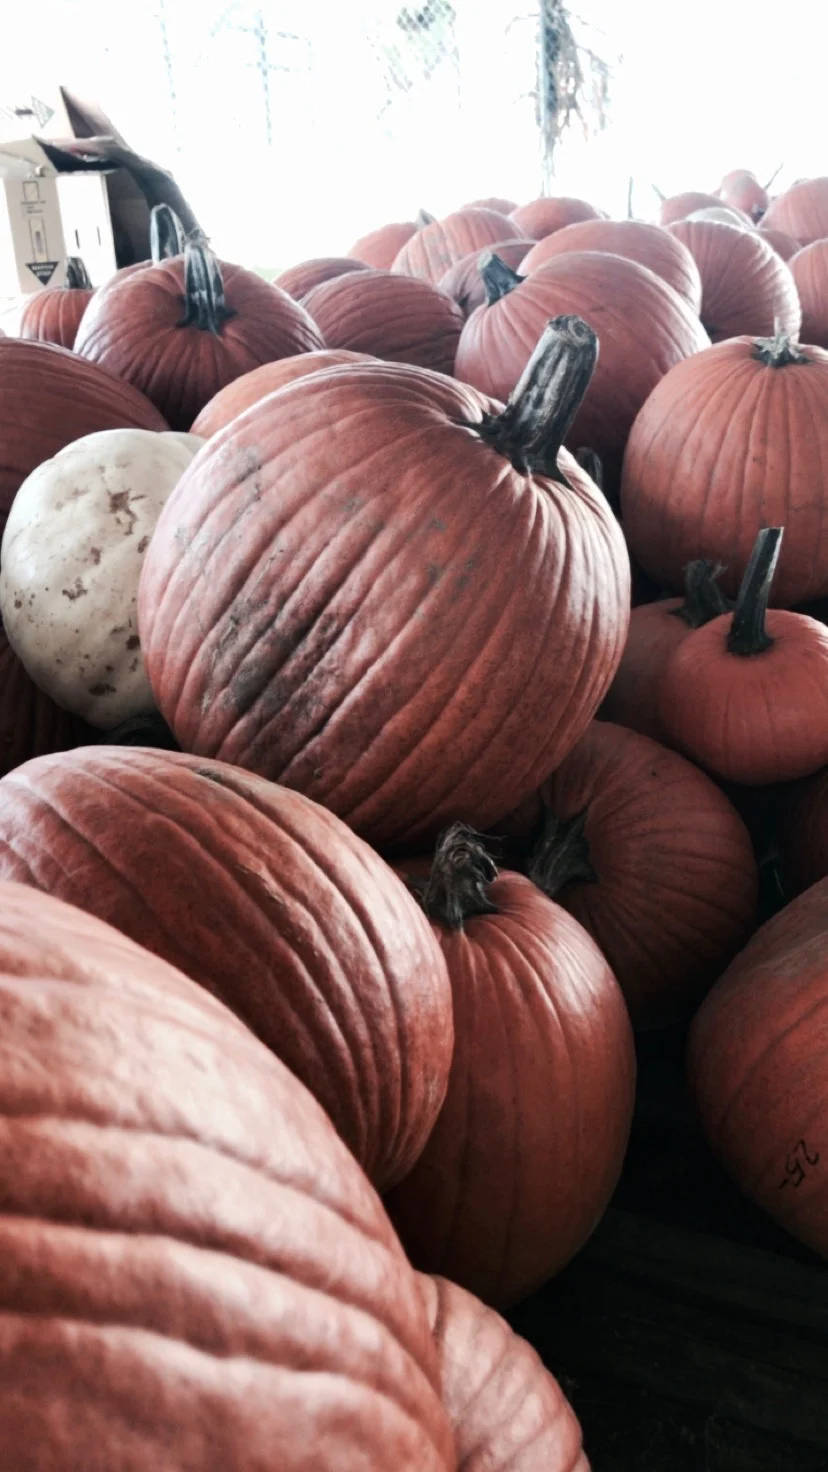
TIPS: Find a uniform and round pumpkin so it can stand still instead of woobly. The smoother the better for carving, however you can always work around the one you find and make it special :)
PUMPKIN PATCH US 1 MIAMI
